Installation of certificate in Visual Studio Code: הבדלים בין גרסאות בדף
קפיצה לניווט
קפיצה לחיפוש
DovidStroh (שיחה | תרומות) |
|||
| שורה 3: | שורה 3: | ||
{{קישור אנגלית לתצוגת קריאה}} | {{קישור אנגלית לתצוגת קריאה}} | ||
{{Navigation|Security certificate}} | {{Navigation|Security certificate}} | ||
| − | + | {{תיבת מידע|'''Notice: Starting from version 1.33 of VSCode, the software automatically loads and trusts the operating system root security certificates<ref>https://code.visualstudio.com/updates/v1_33#_network-proxy-support-for-extensions</ref>, and there is no need to follow these steps for 99% of extensions.'''}} | |
| − | ''' | ||
In older versions unauthorized SSL traffic should be allowed as follows: | In older versions unauthorized SSL traffic should be allowed as follows: | ||
| − | In the File menu, open Preference then | + | In the File menu, open Preference then click on User Settings... |
A split window should open like this: | A split window should open like this: | ||
[[קובץ:VSCODE BEFORE.png|ללא|600px]] | [[קובץ:VSCODE BEFORE.png|ללא|600px]] | ||
גרסה אחרונה מ־02:35, 21 בפברואר 2024
לעברית לחצו כאן
To switch from edit view to read view
Home page > Security certificate > Installation of certificate in Visual Studio Code
💡 Notice: Starting from version 1.33 of VSCode, the software automatically loads and trusts the operating system root security certificates[1], and there is no need to follow these steps for 99% of extensions.
In older versions unauthorized SSL traffic should be allowed as follows:
In the File menu, open Preference then click on User Settings...
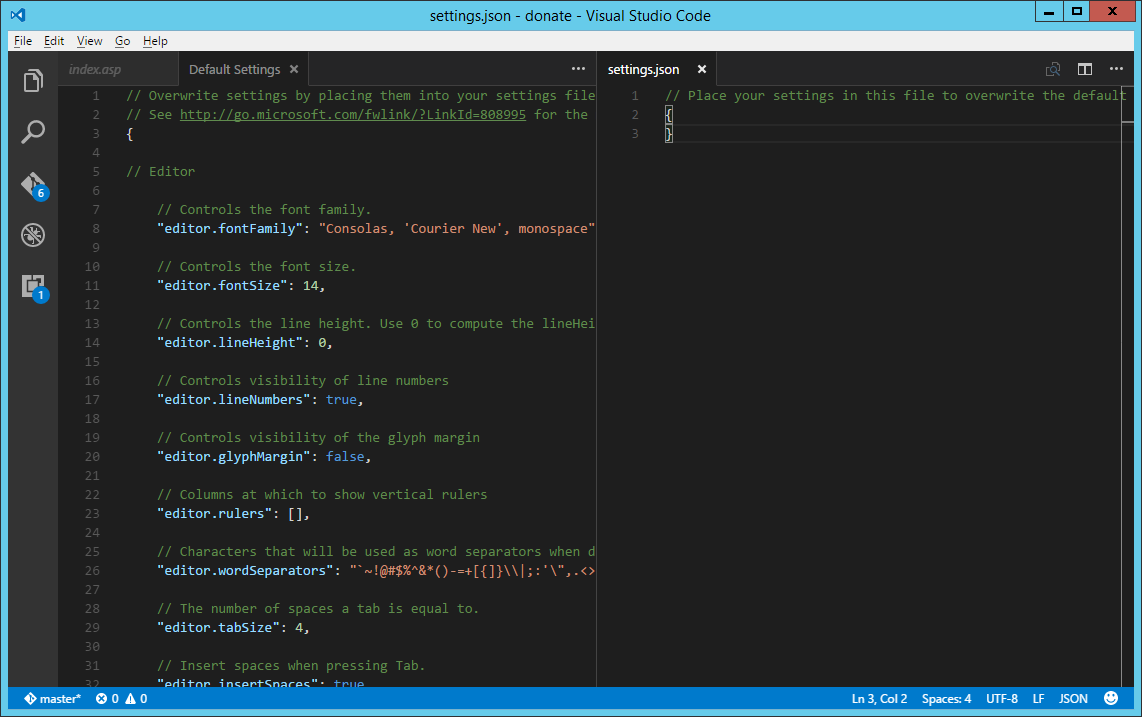
A split window should open like this:

On the right side of the window (Settings.json), add the following line between the curly brackets:
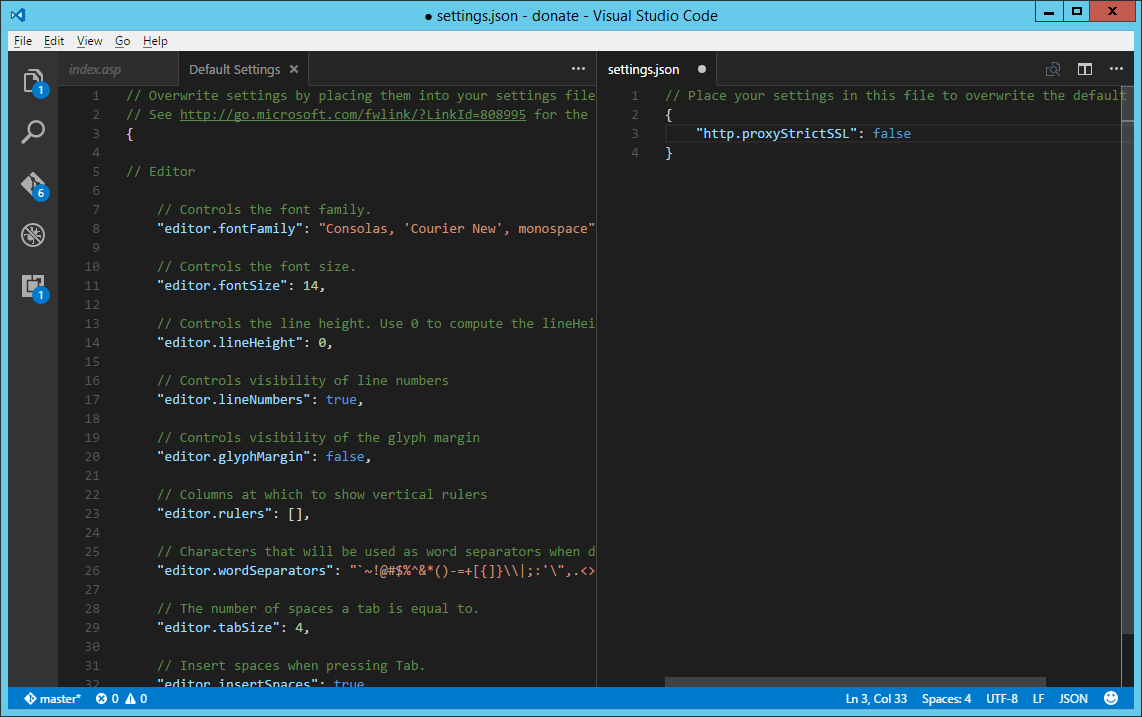
"http.proxyStrictSSL": false
It should look like this:

Close the window and save the changes.